Jenkins
Install Jenkins
- Download the latest Jenkins war file here.
Run and Configure Jenkins
Run Jenkins with the command
java -jar jenkins.war. To change the default port of the web interface of Jenkins, use the argument--httpPort=$port.For example,
java -jar jenkins.war --httpPort=12345Open url
http://server:portin browser to configure Jenkins. In the last example, it ishttp://localhost:12345.Download and install plugins following the steps below.


Switch to the
availabletag and search for the plugin. In this example, theGithub Projectplugin is installed to integrate Jenkins with projects on github.
Click on the
installbutton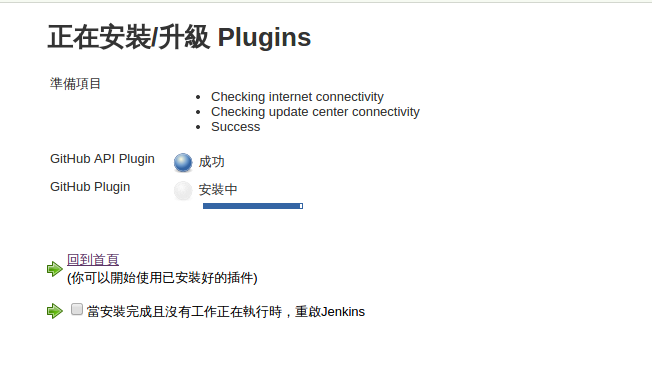
After the installation is finished, you can configure jobs to use existing Github projects.
Create Jobs
In this simple example, a job is created to compile a c program and run it.
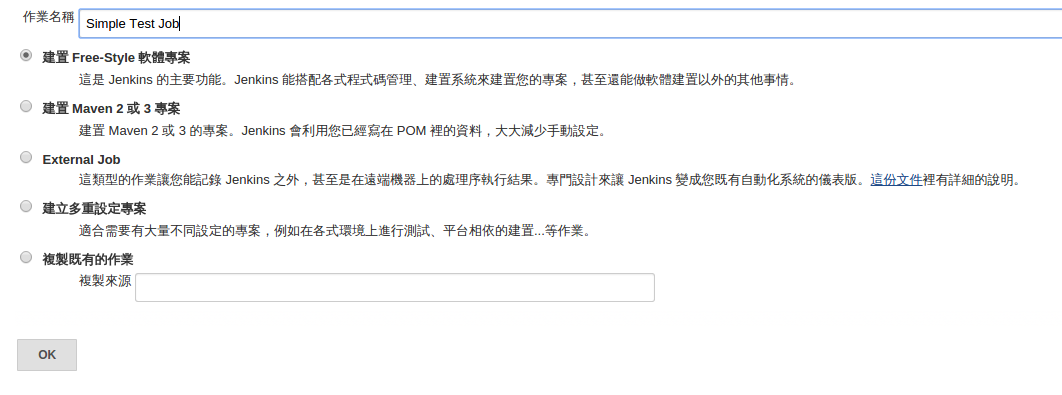
- Create a Job at

Choose free-style project and name it.
The following setting page should show. Ignore most of them for now and go to the
buildsection.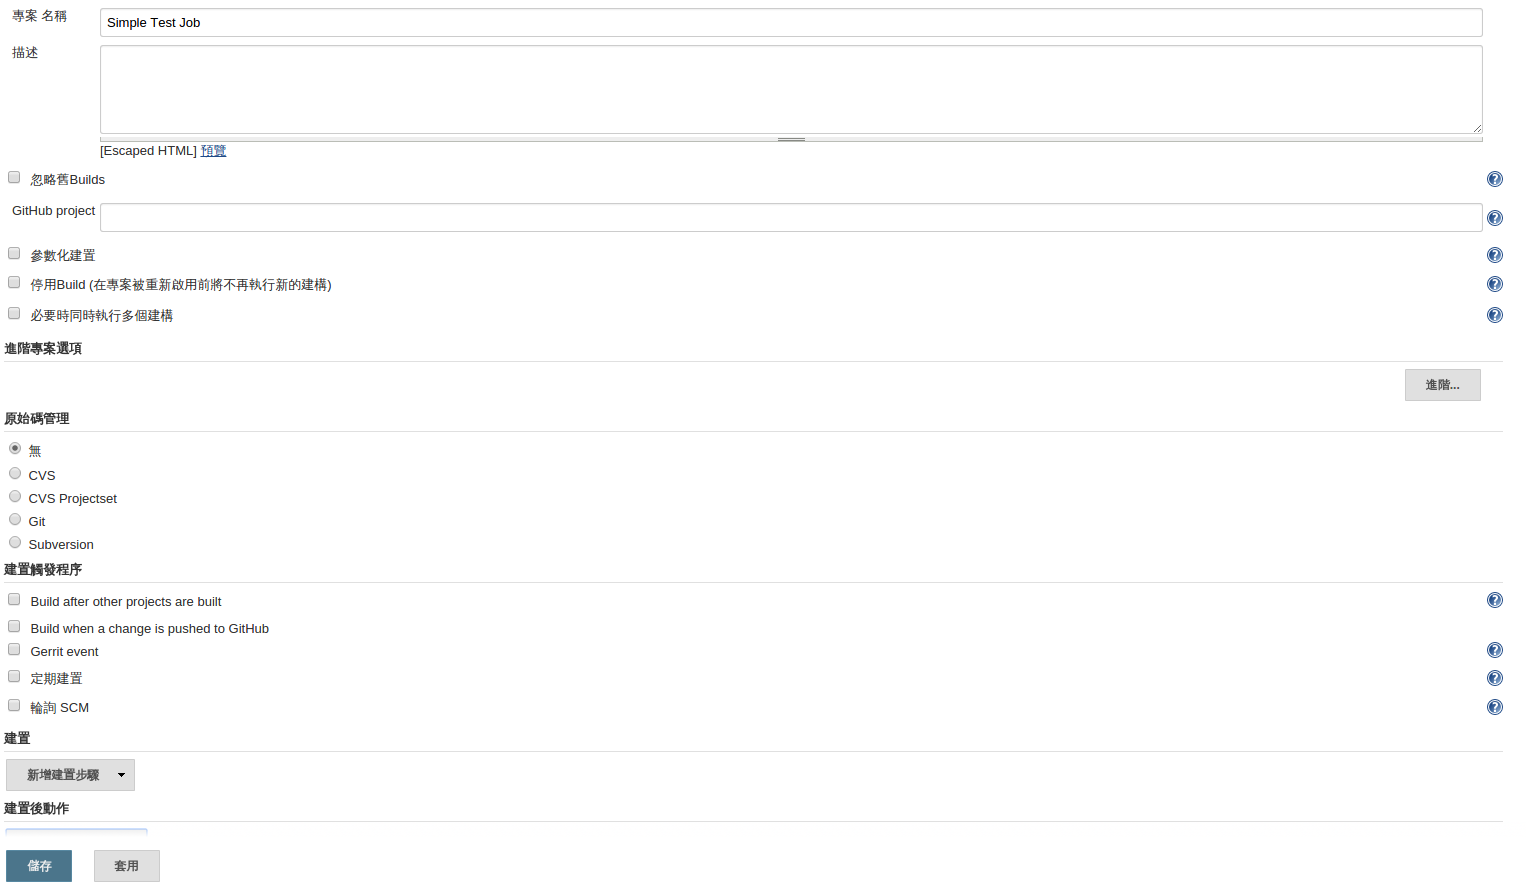
Choose
execute shell.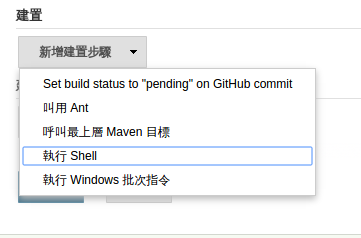
Enter simple shell commands that compile and run a hello world c program.

Click
saveand the job should appear in the dashboard.
Click on the job and go to the configuration page.
Click
 and the project will be built with the preconfigured build-steps.
A new successfully built record should appear in the project's build history.
